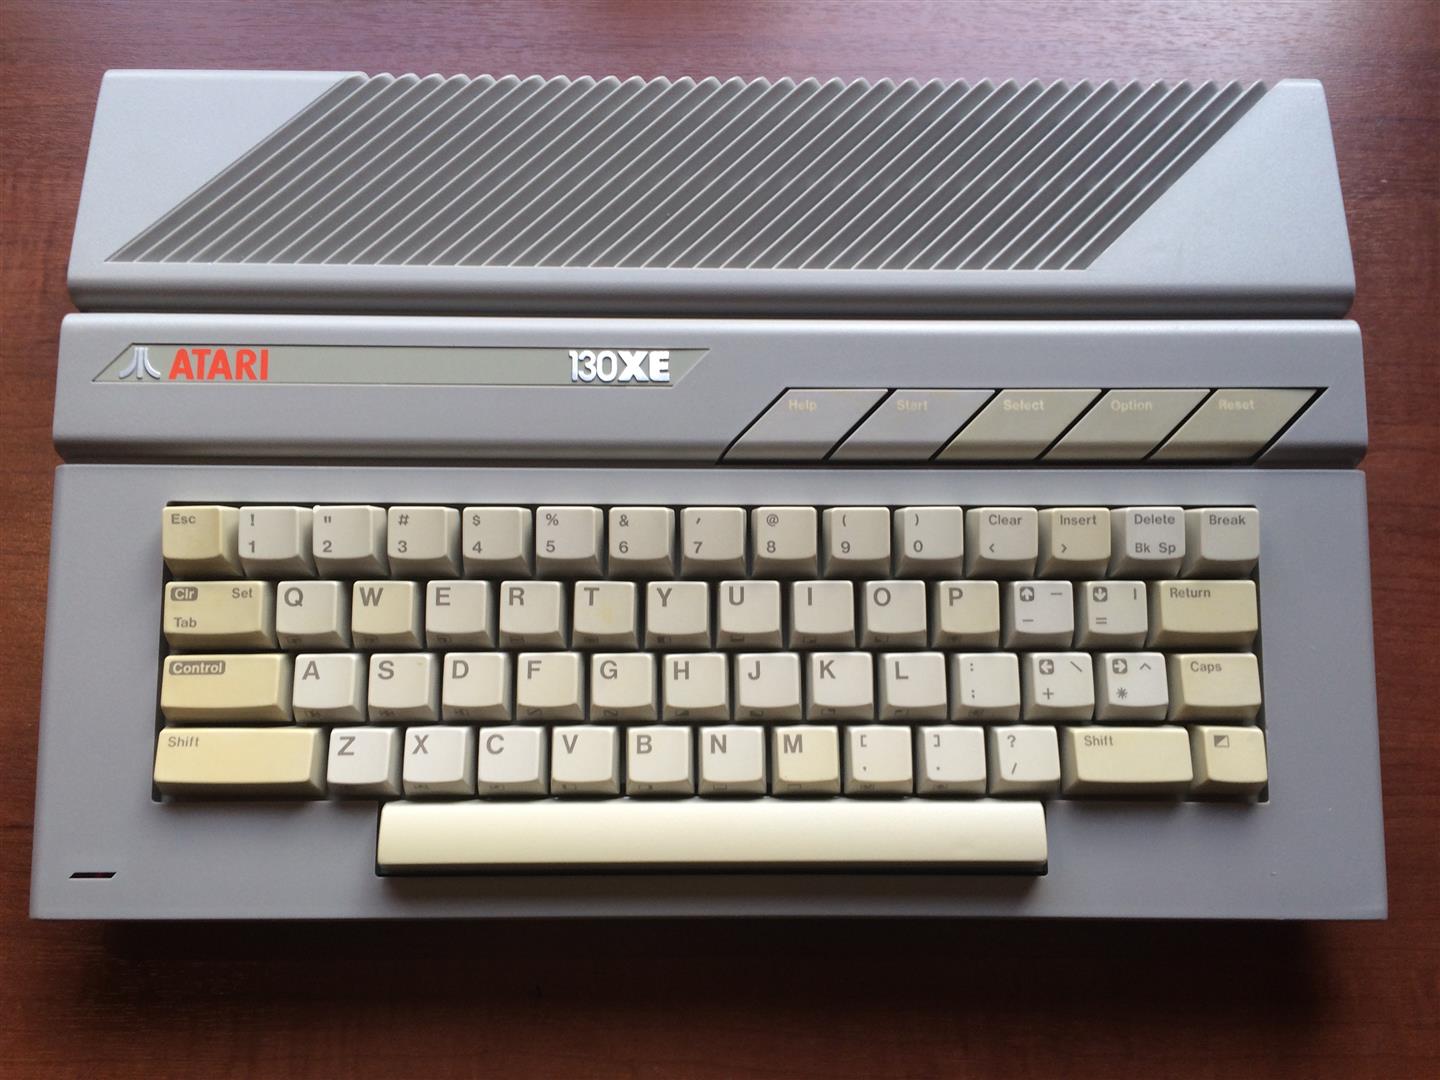
Atari 130xe Repair Log
Overview
Here are details, thoughts and knowledge I gathered during my attempt to fix broken Atari 130xe.
By no means I claim myself expert in electronics. I just happen to know how soldering iron works,and used it a couple of times. And I'm a computer nerd :)
Story behind
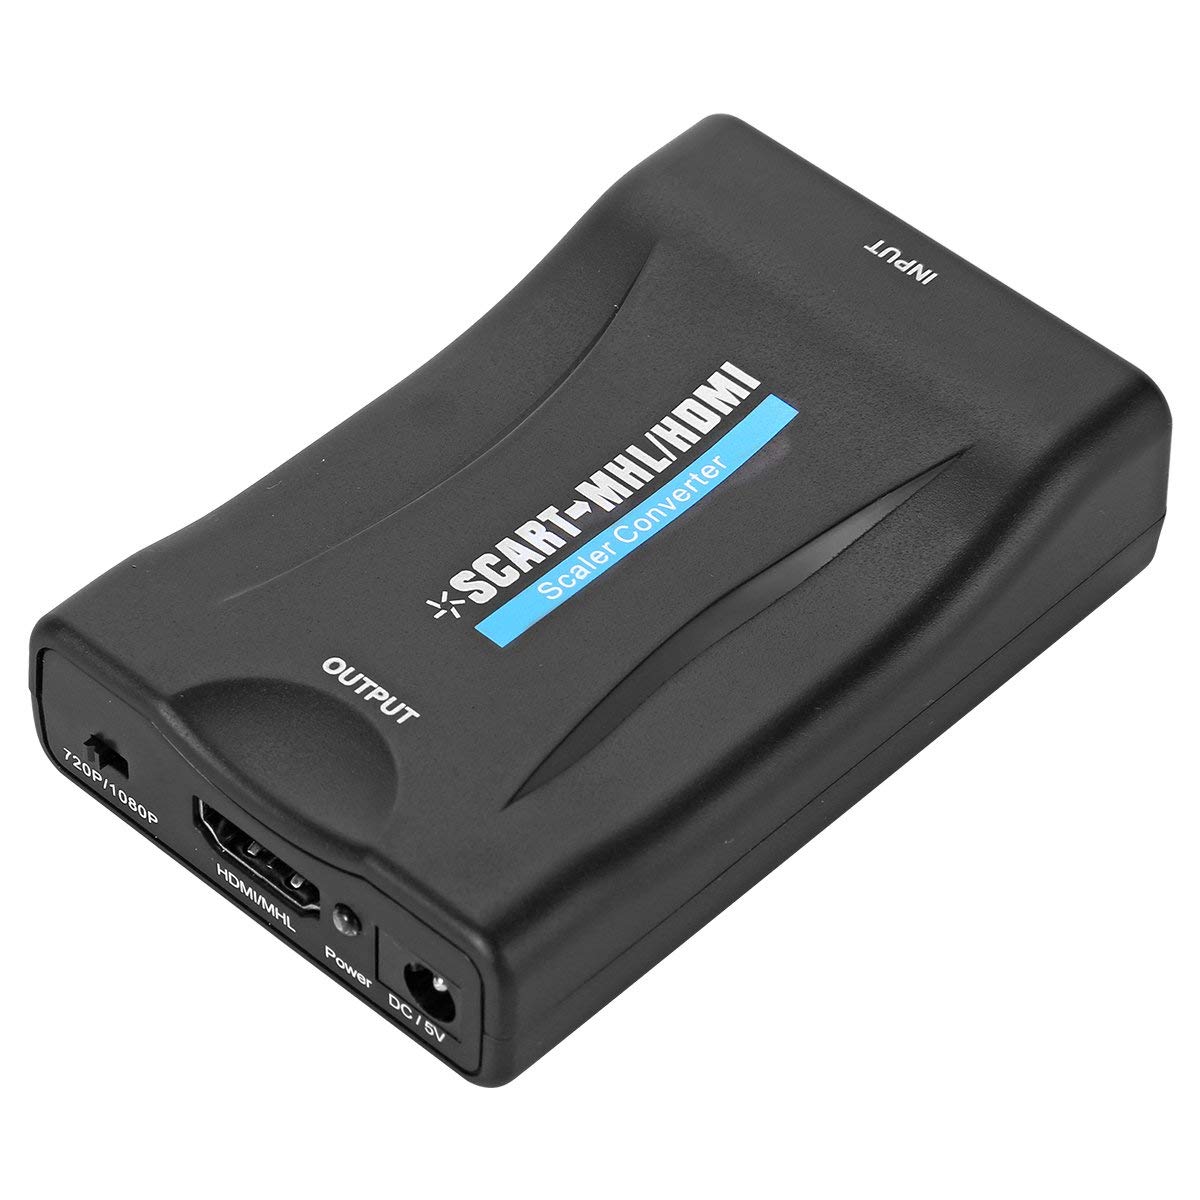
The other day I wanted try new monitor/TV that I bought for my Atari. For some time I had the Atari connected to the TV in the living room, It's OK to play games from time to time, but really, can't do any serious work. On my desk I have regular monitors (VGA/HDMI Inputs). Atari has only Composite (AV) connection so started looking for converters. I tried two adapters to connect Atari to monitor. First one was Scart2HDMI
and second AV2VGA
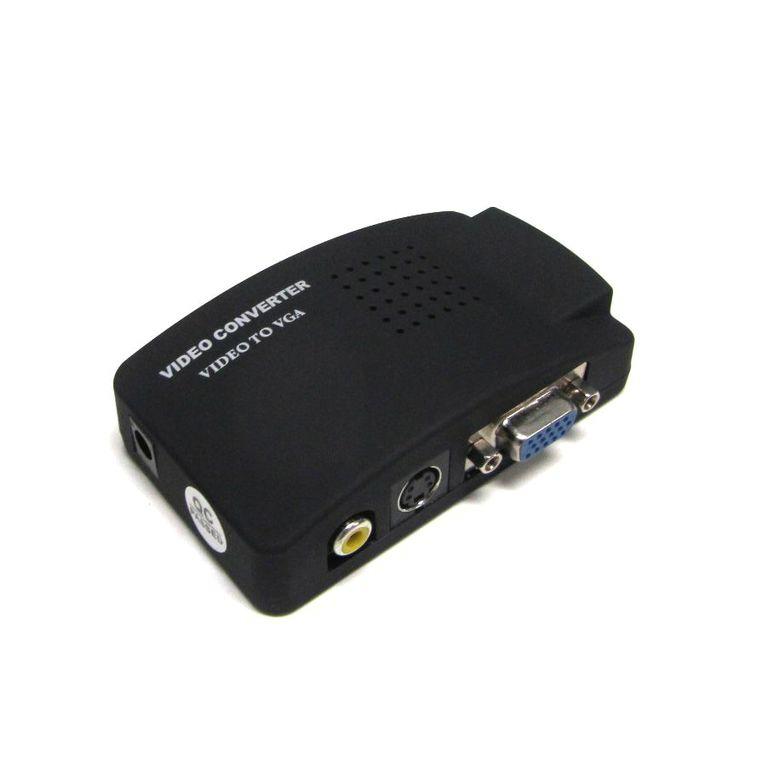
Quality for both was less than average, very noisy and problems with colors. I thought that the only solution would be LCD TV with Composite Inputs. Quick search on local second hand site revealed 20" Viewsonic with all possible Inputs (AV, HDTV, S-Video, VGA, HDMI). I decided to give it a go and bought it. Initial connection was successfull but shortly after, my computer started behaving very weirdly. Started SelfTest and selected Memory test. After a minute or two, strange artifacts started popping out onto the screen
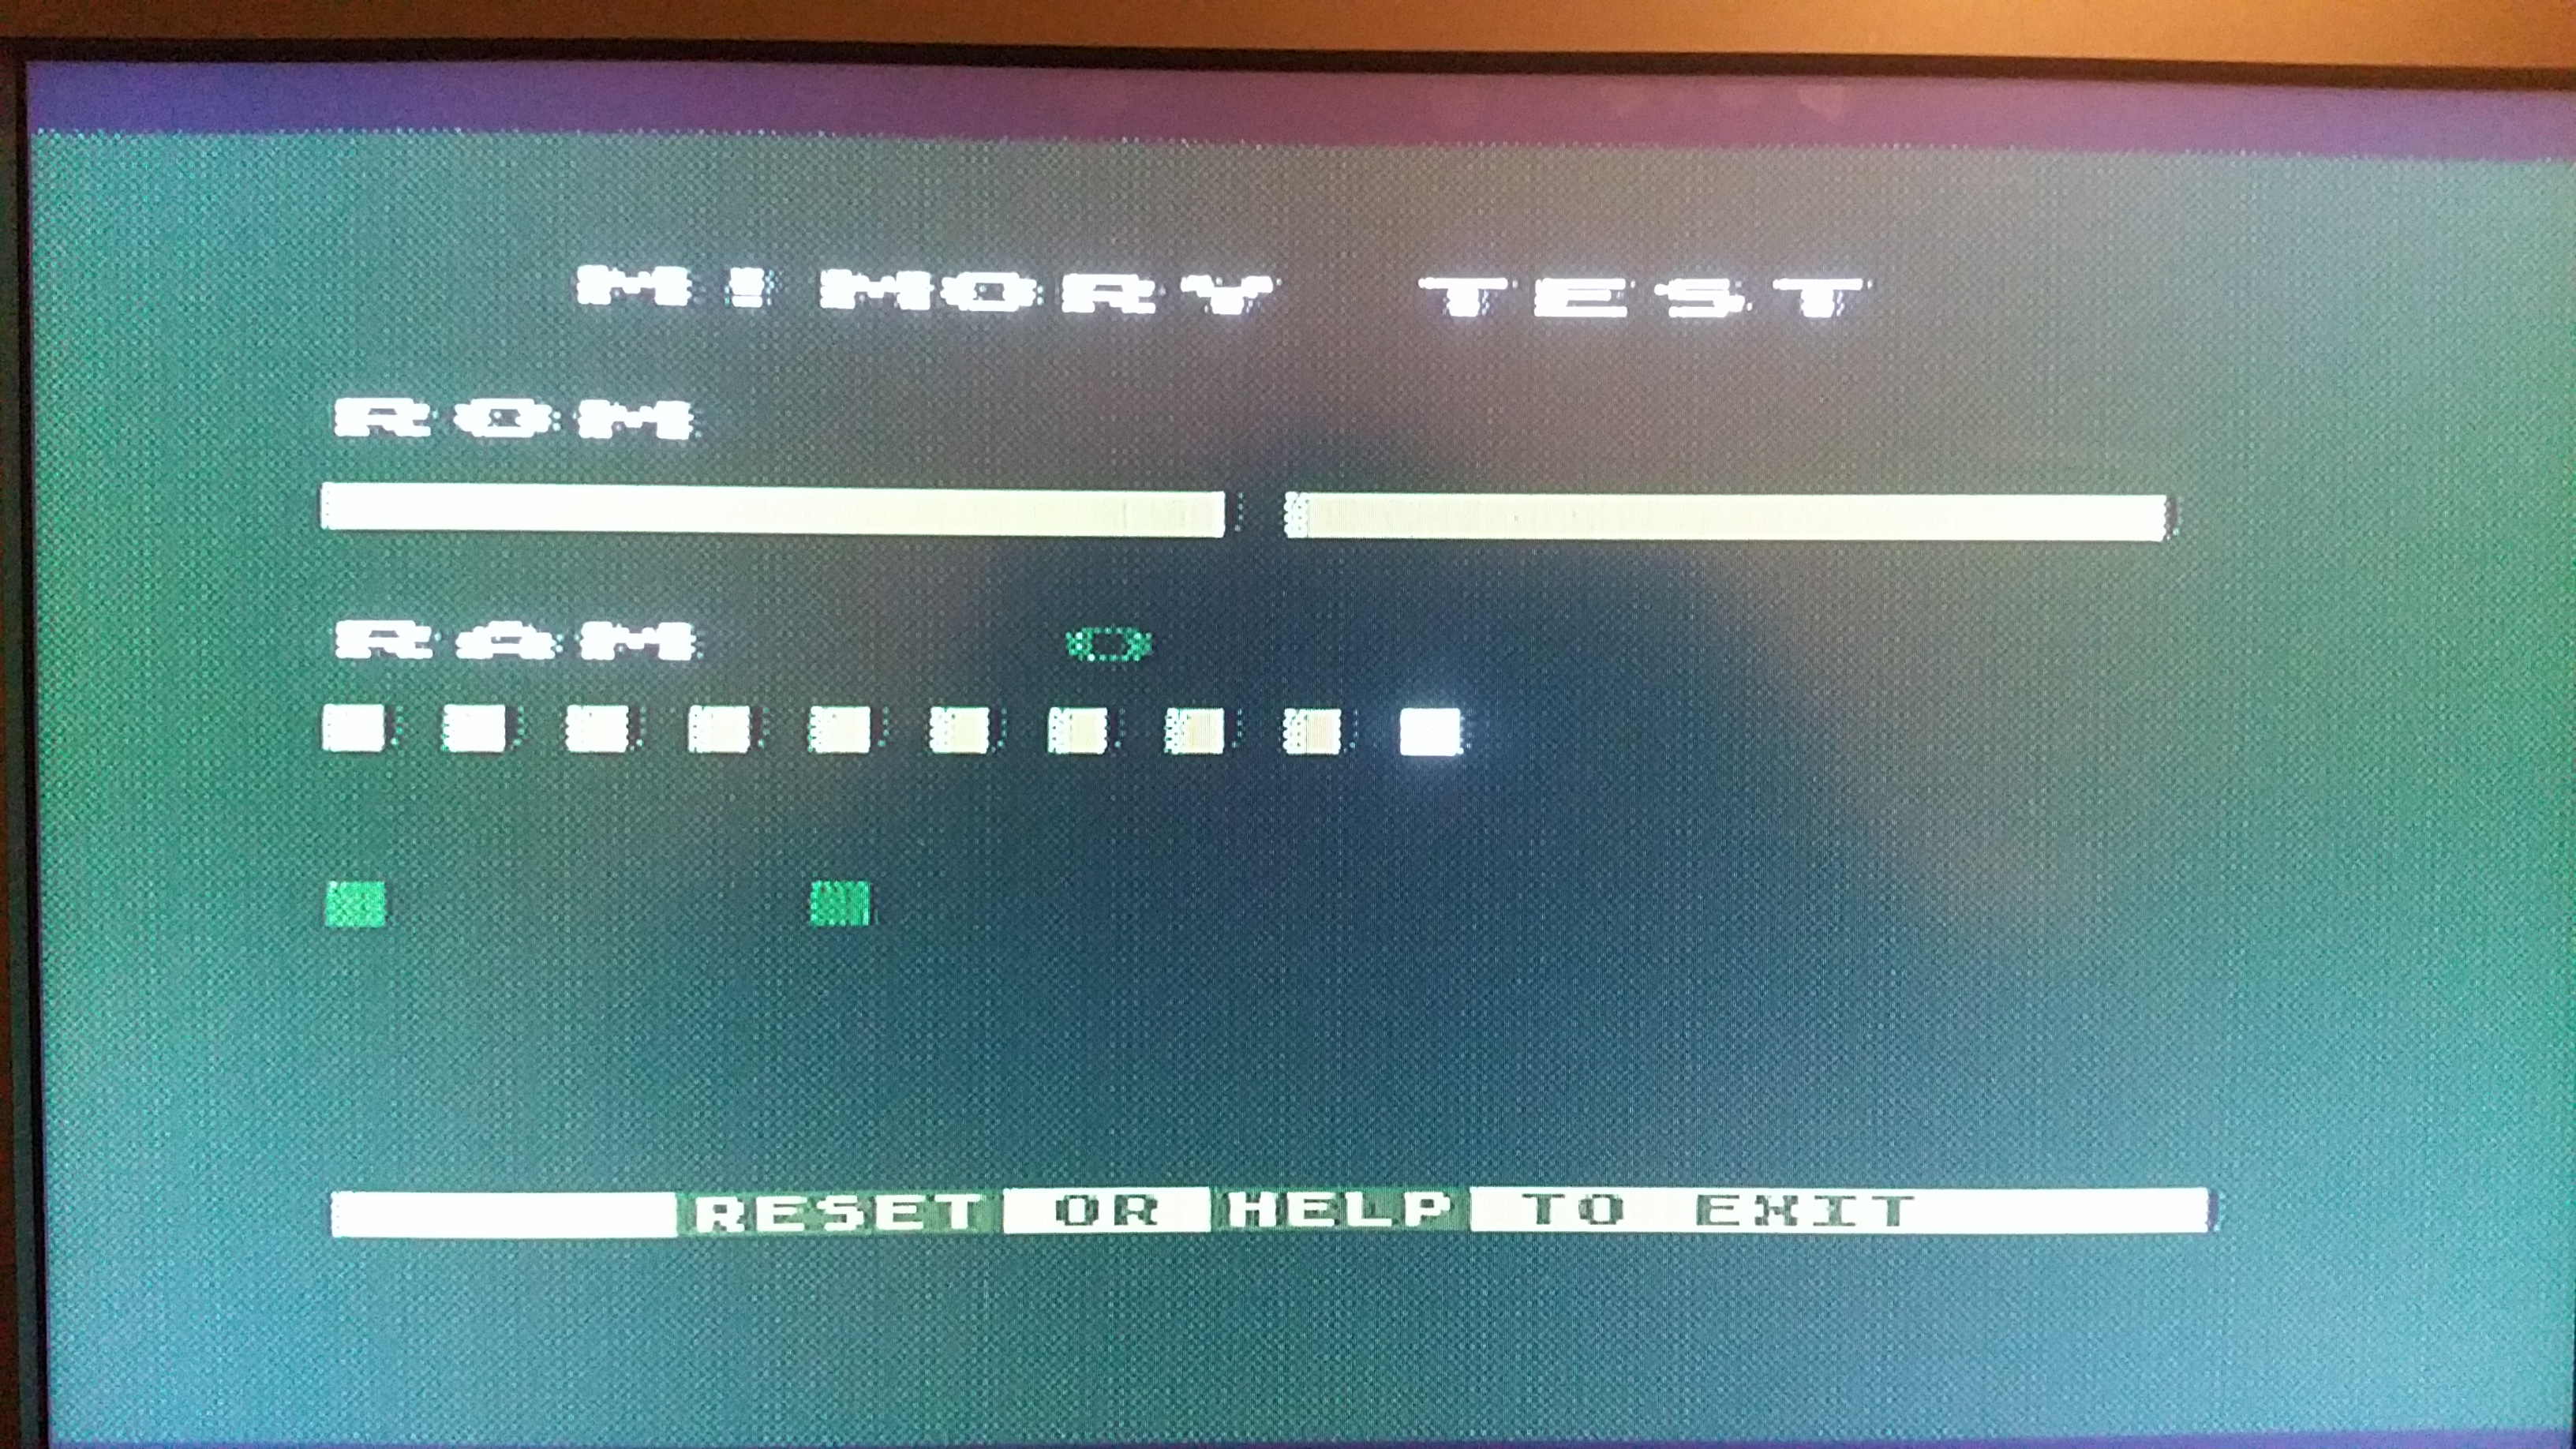
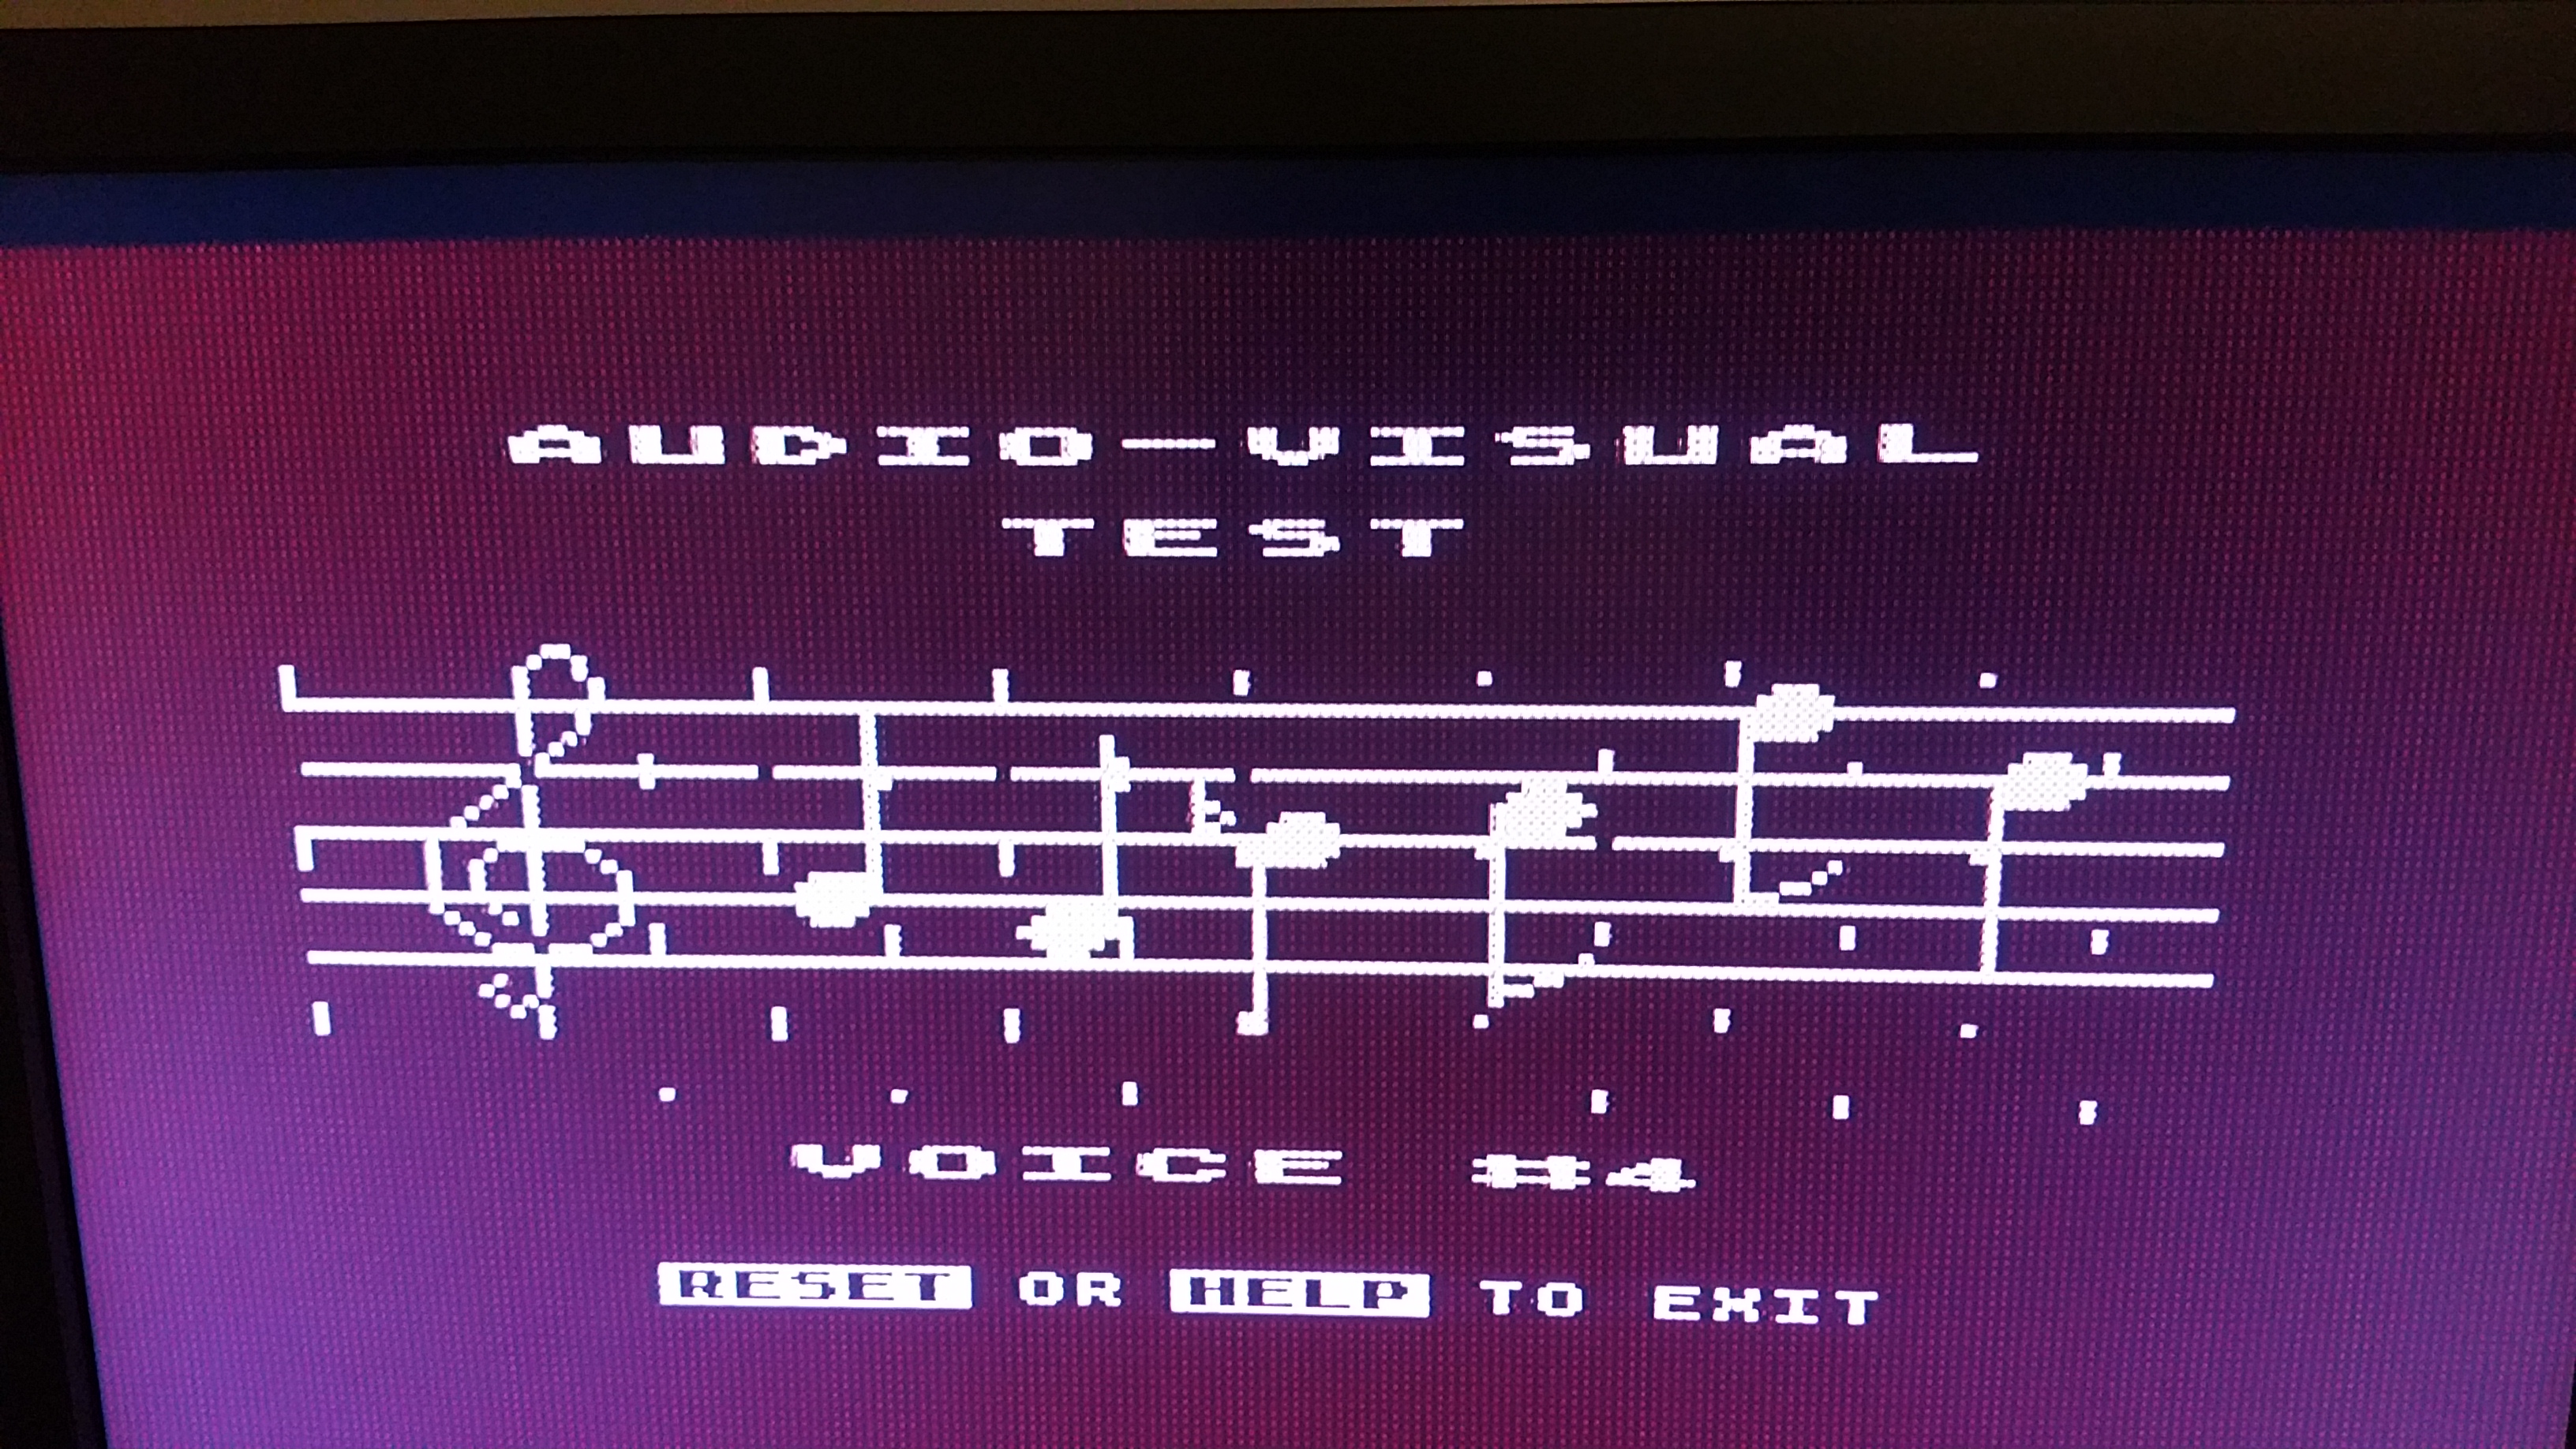
Same thing happened on Audio Visual test.
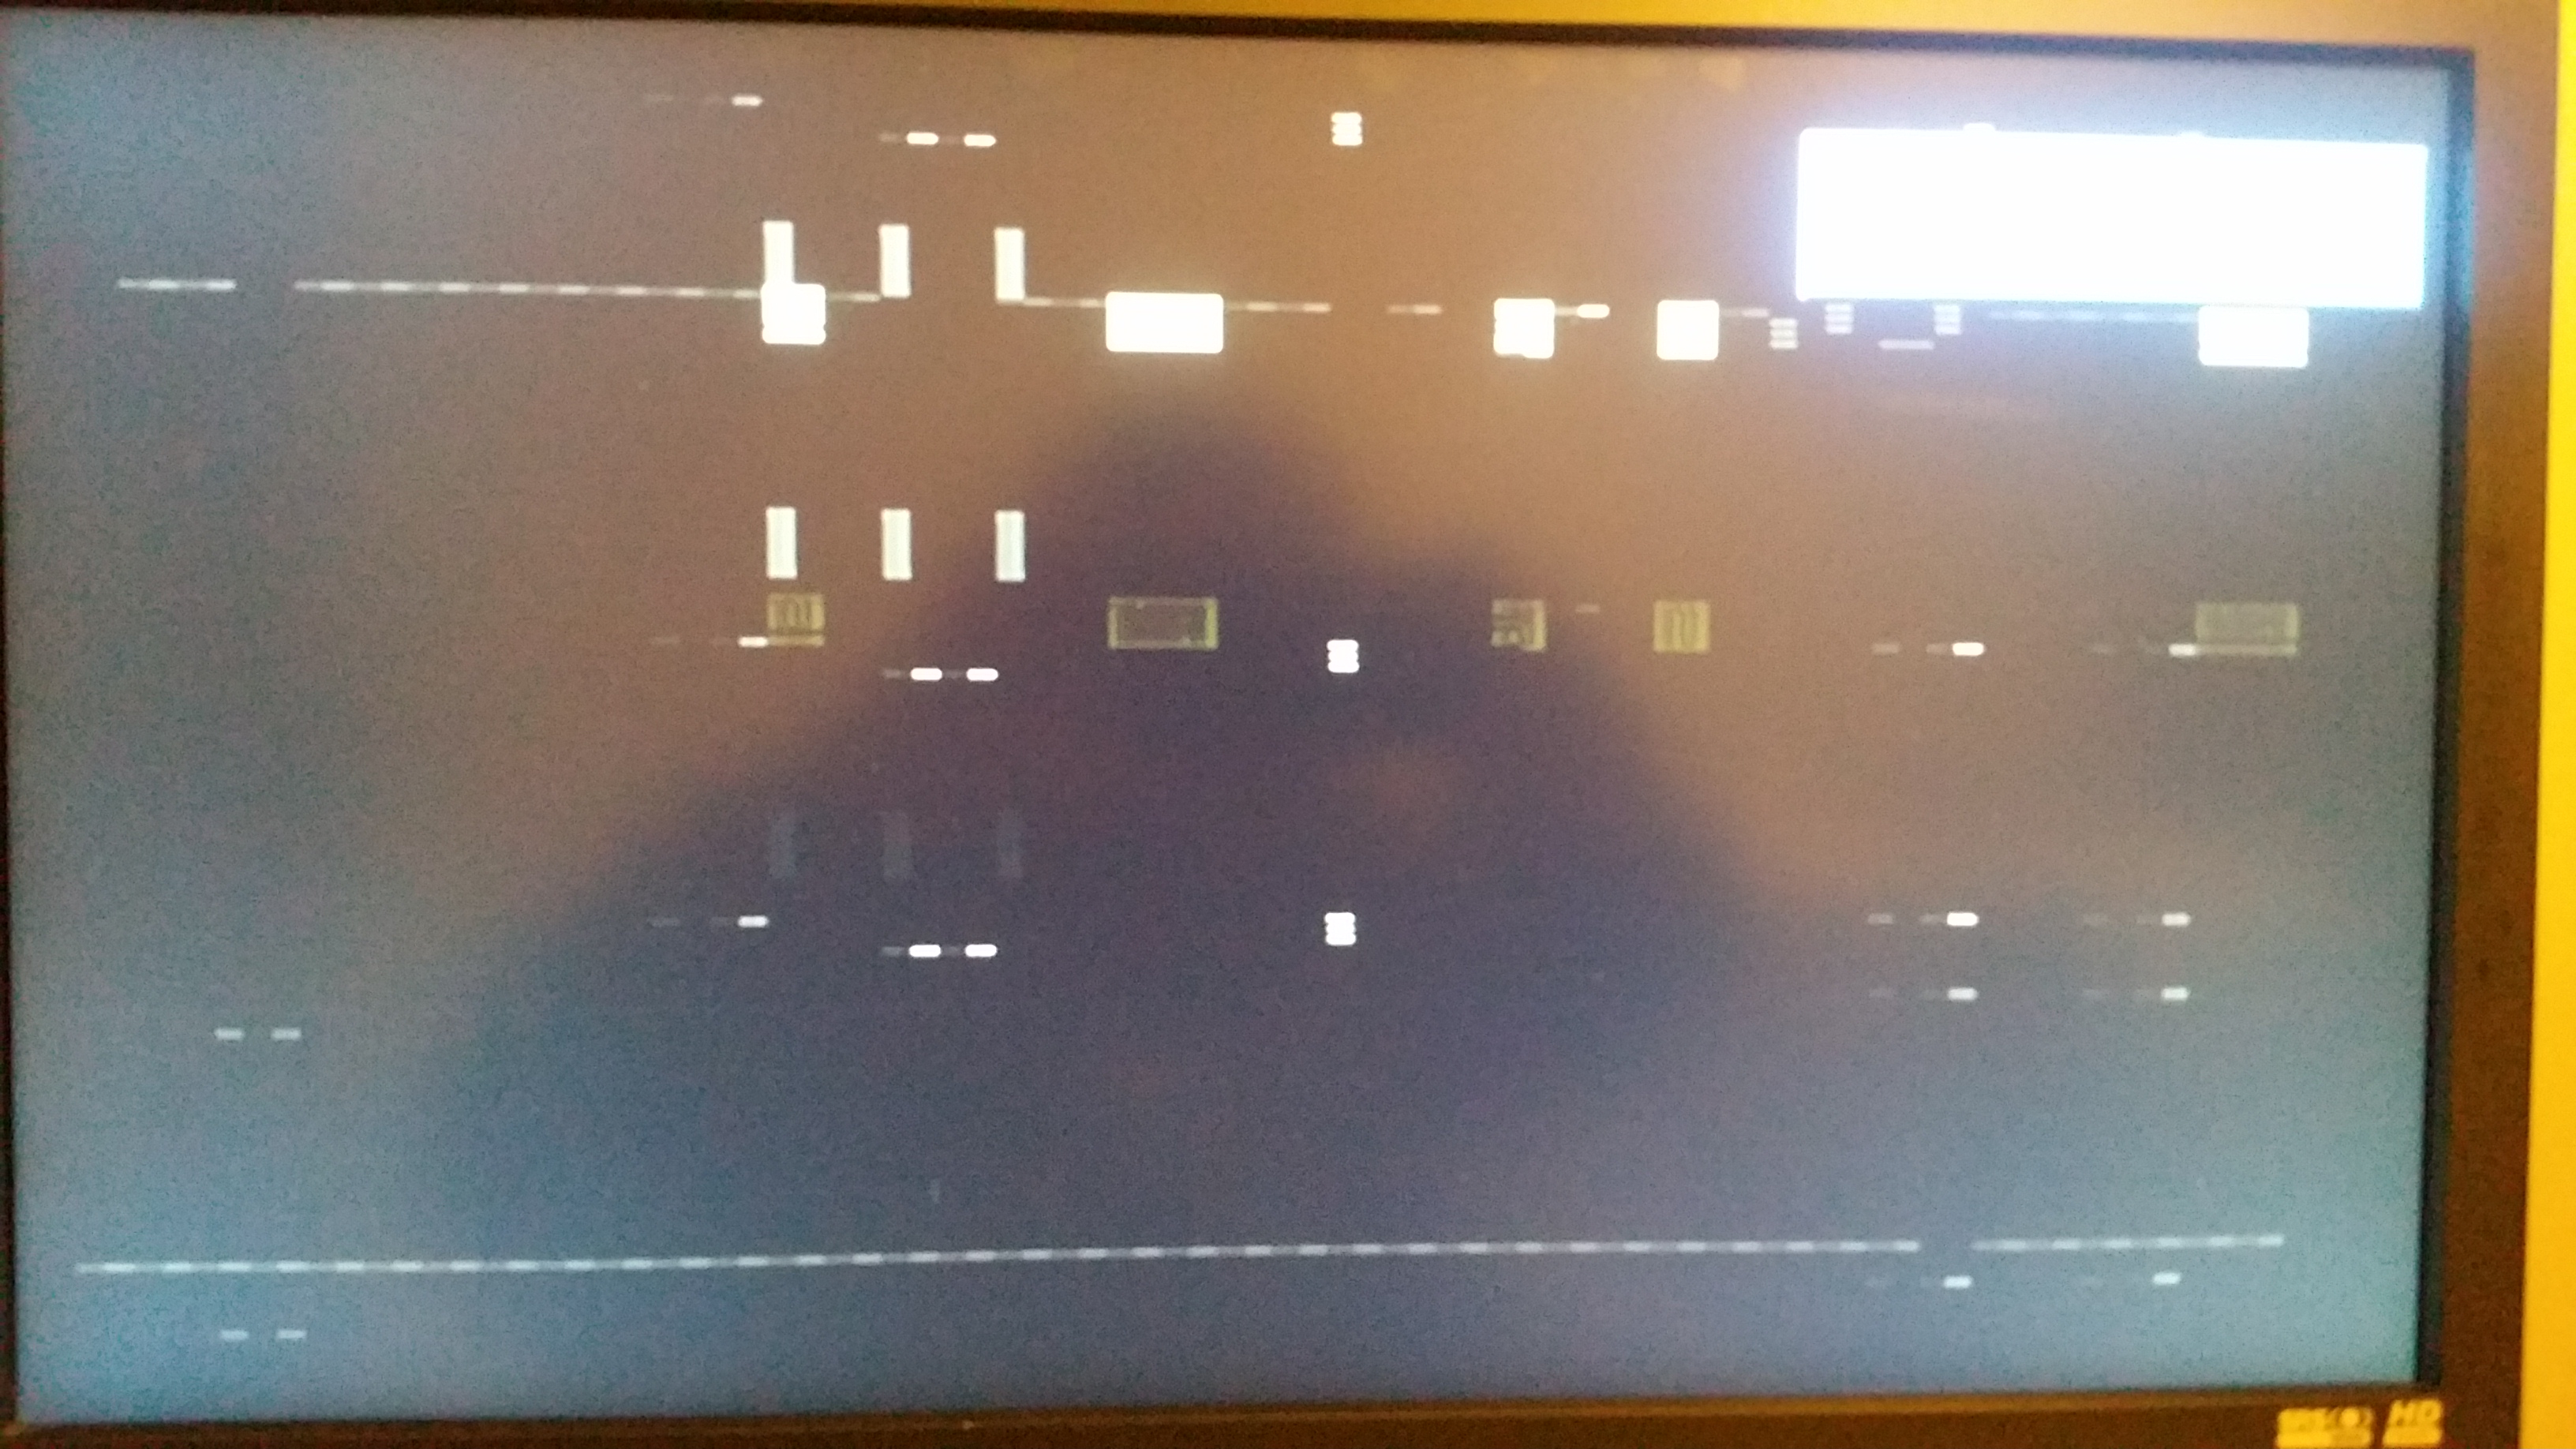
As I was in a middle of conversation with Atari Expert I asked for advice. Lotharek suggested to check powersupply. I disconnected from computer and checked with regular Voltage Meter, It was showing around 5V soit so it looks ok. As Powersupplies can behave differently when under load, I connected it to Atari, connected Voltage Meter and started computer. It showed 5.5, 6V and spiked to 7V after which got back to 5.5V. Unfortunately, first screen looked like this
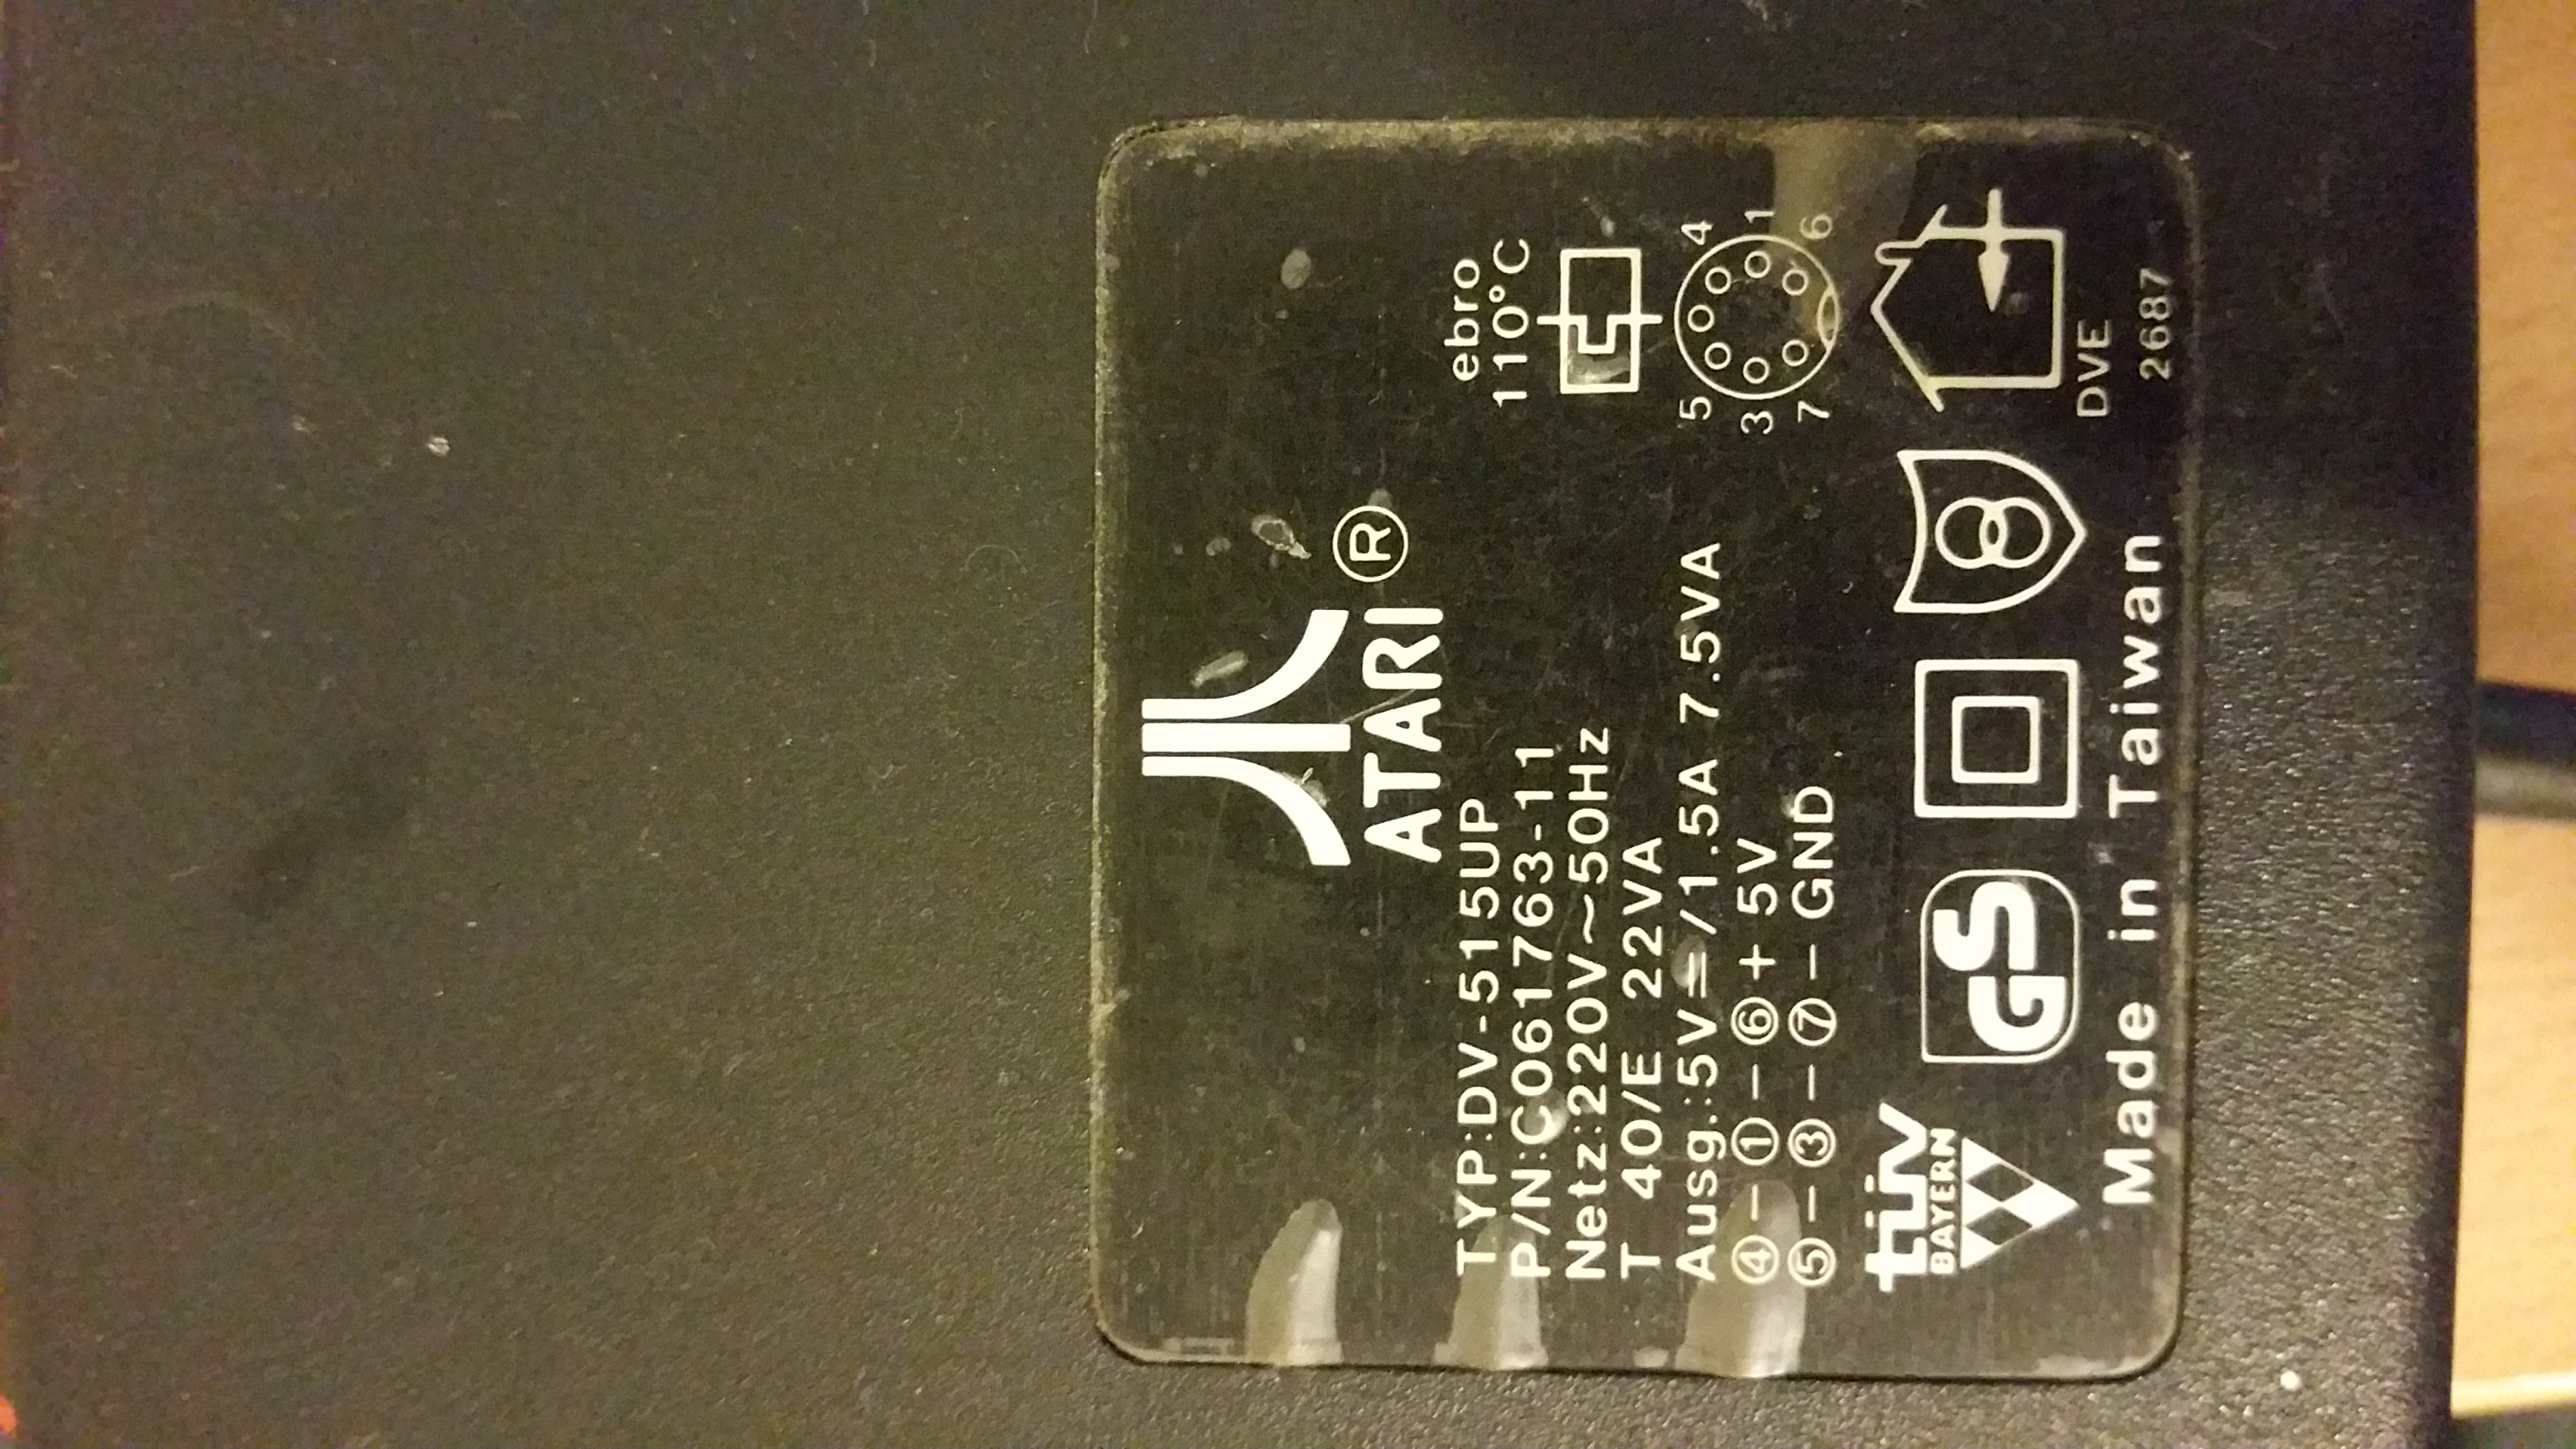
Suddenly was just black, no sign of life :( My powersupply is original one
Quick search on Internet revealed that it's called Ingot by the community and is known to overvoltage when dying. It's advised to throw it as soon as possible. Good to know, but it was too late for me :(
Troubleshooting
Power Supply
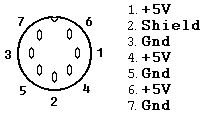
Now I'm with a computer, that is most likely broken but can't make more testing as I can't trust PSU. Quick view on Power Plug revealed that Power plug has 7 pins but actually it just delivers regular 5V only
After a few seconds of searching for 5V power supply I decided to give it a go with the phone charger. USB delivers 5V. Only problem may be current, original says 1.5A, most of available on ebay gives 2A. High Quality delivers 3A. Perfect if you have some extensions installed. By default, USB is rated for 500mA, although most of phone chargers these days have 2A. Let's try to make such cable. I've cut some old USB cable, checked which lines delivers GND and 5V and connected to cable that i cut from original PSU (I will no longer need it if this is so dangerous...). Quick test with Meter, and all voltages seems be ok. Connected to Atari, powered on but it dropped from 5.15V to 4.65V, definitely not good sign. This was connected to phone charger. Tried with regular desktop, same situation. Did't want risk any of equipment, so dropped idea about USB power supply. I suspect that USB phone charger delivers more amps only when can communicate with phone via data cable (2 wires inside USB). Since I don't use it for my cable, it assumes safe USB default, 500mA, and that's not enough for Atari. I read somewhere that by default it will pull around 800mA to 1A. I have searched through my boxes with electronic stuff and found PSU that i bought for other device that I was building.
It's rated 5V 2A so seems be perfect to get something that I can use for further troubleshooting.
Checking Motherboard
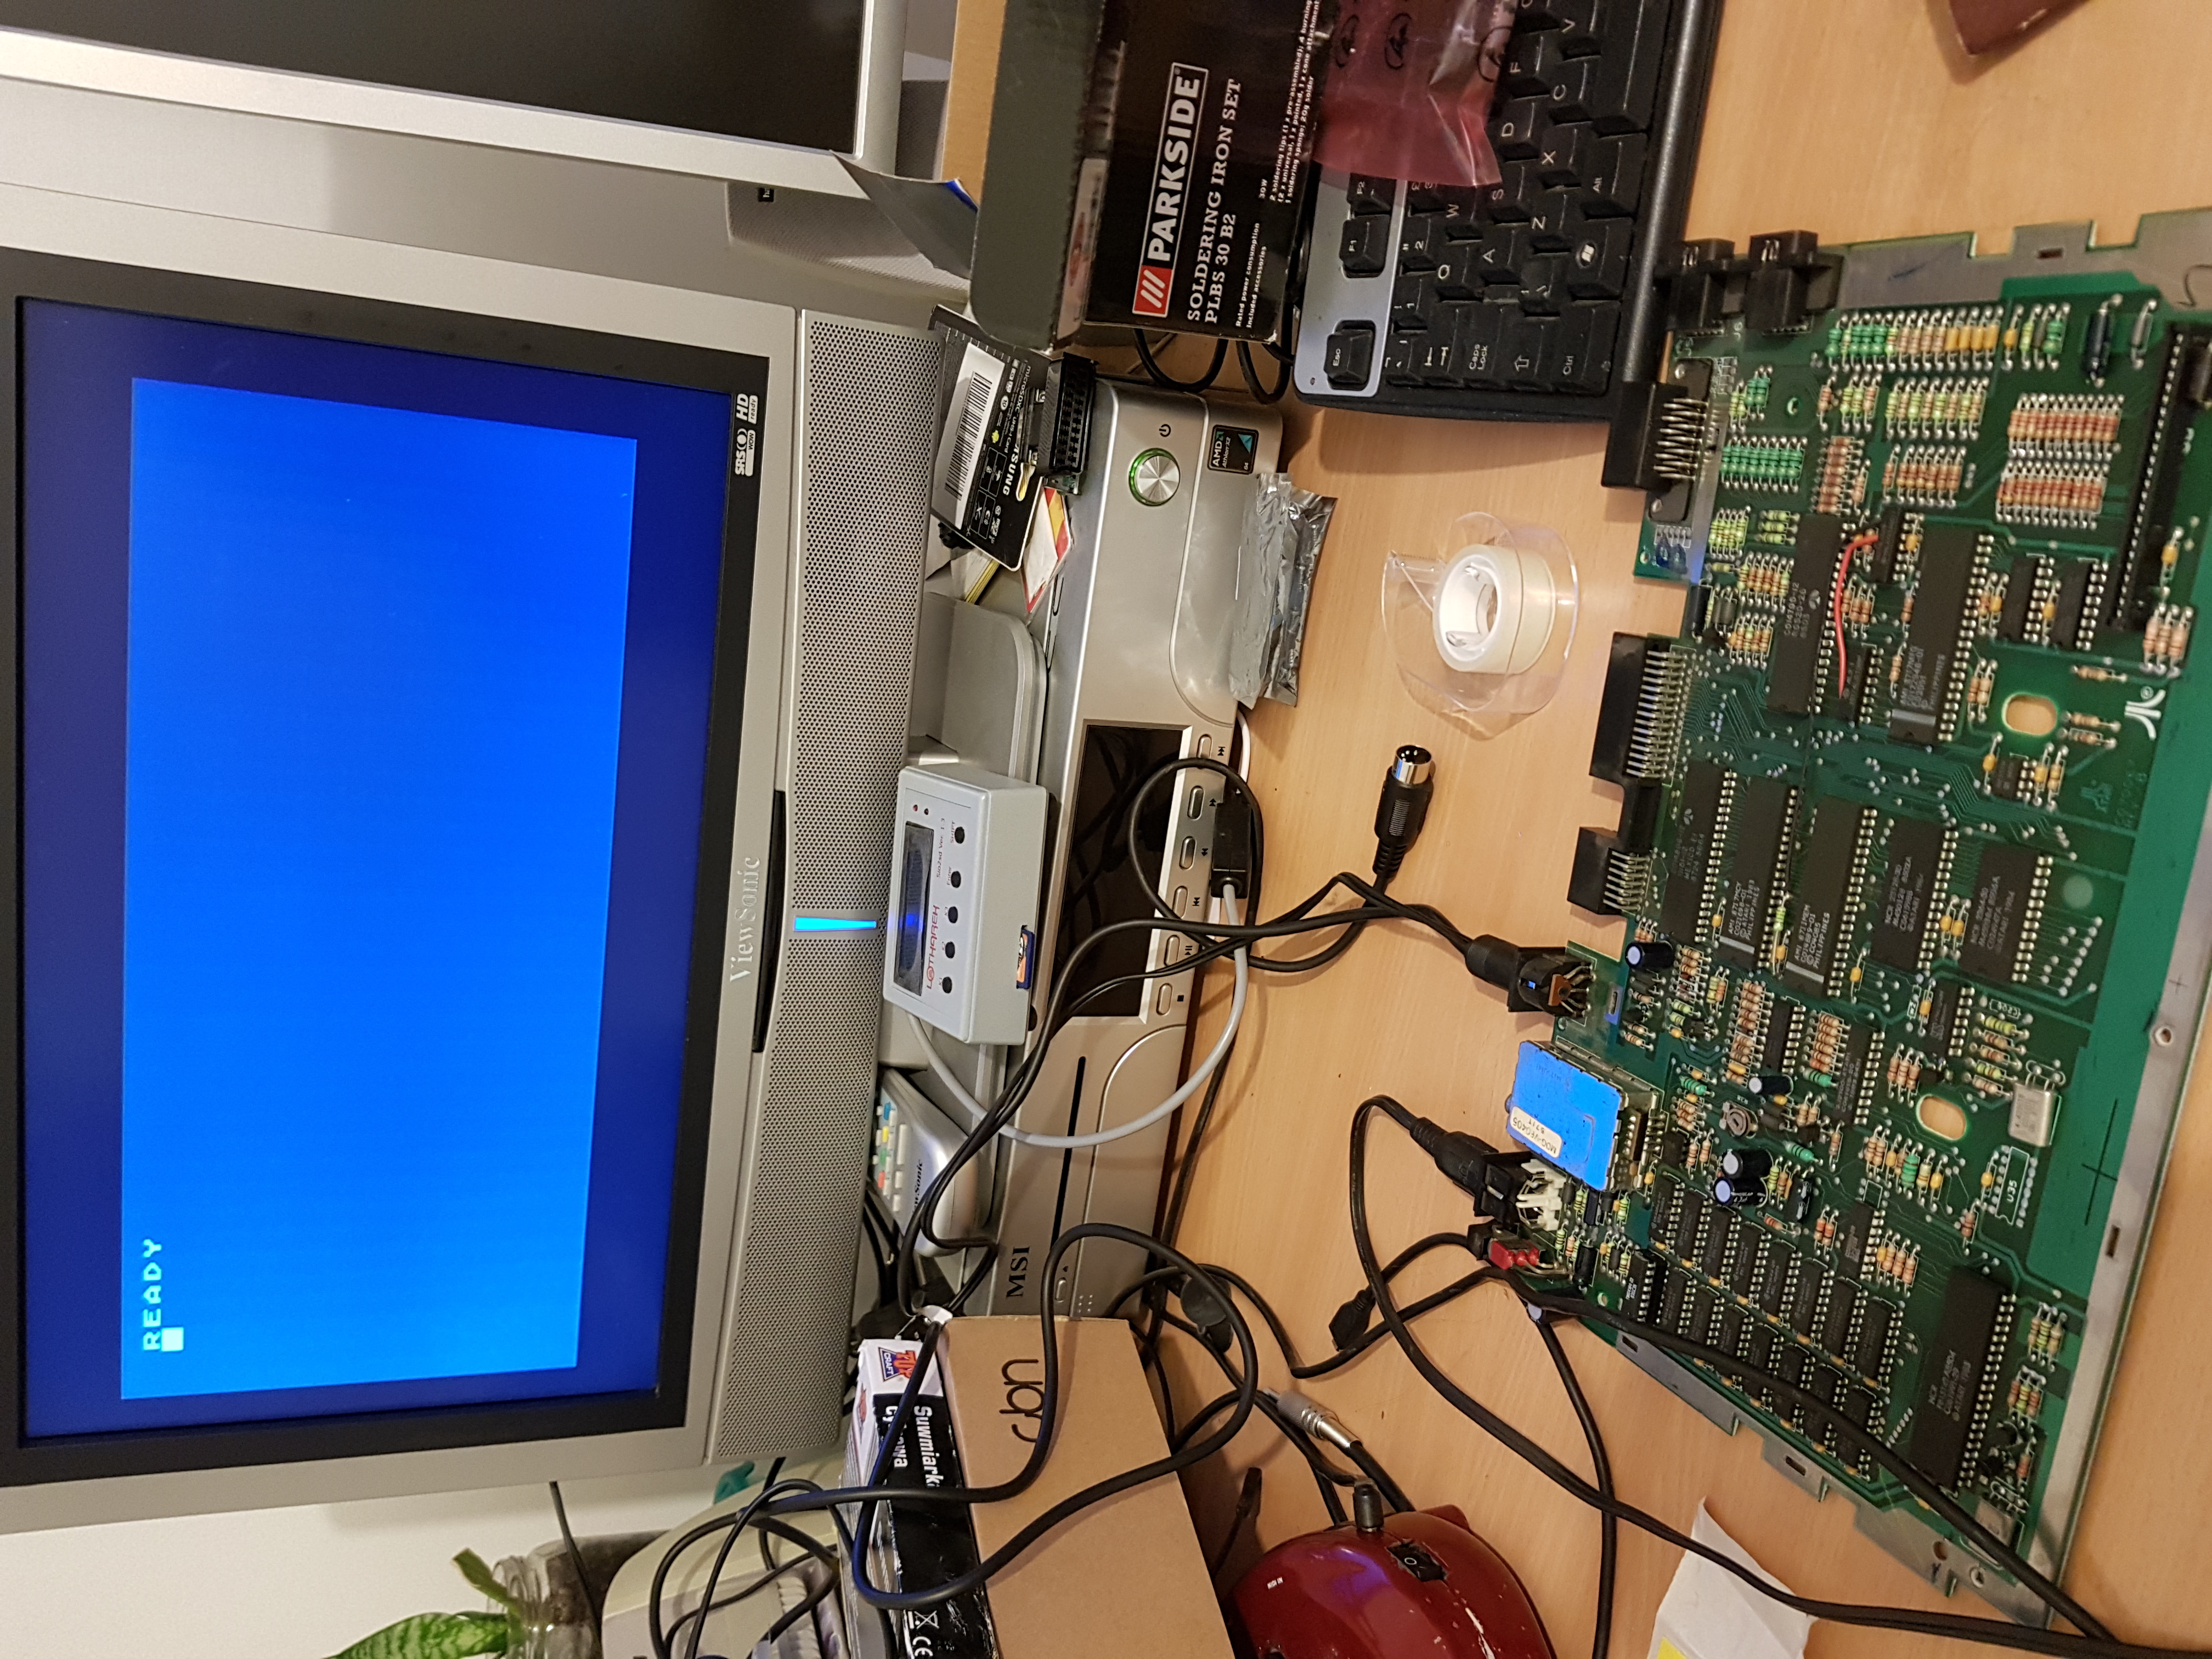
With working PSU I have opened Atari
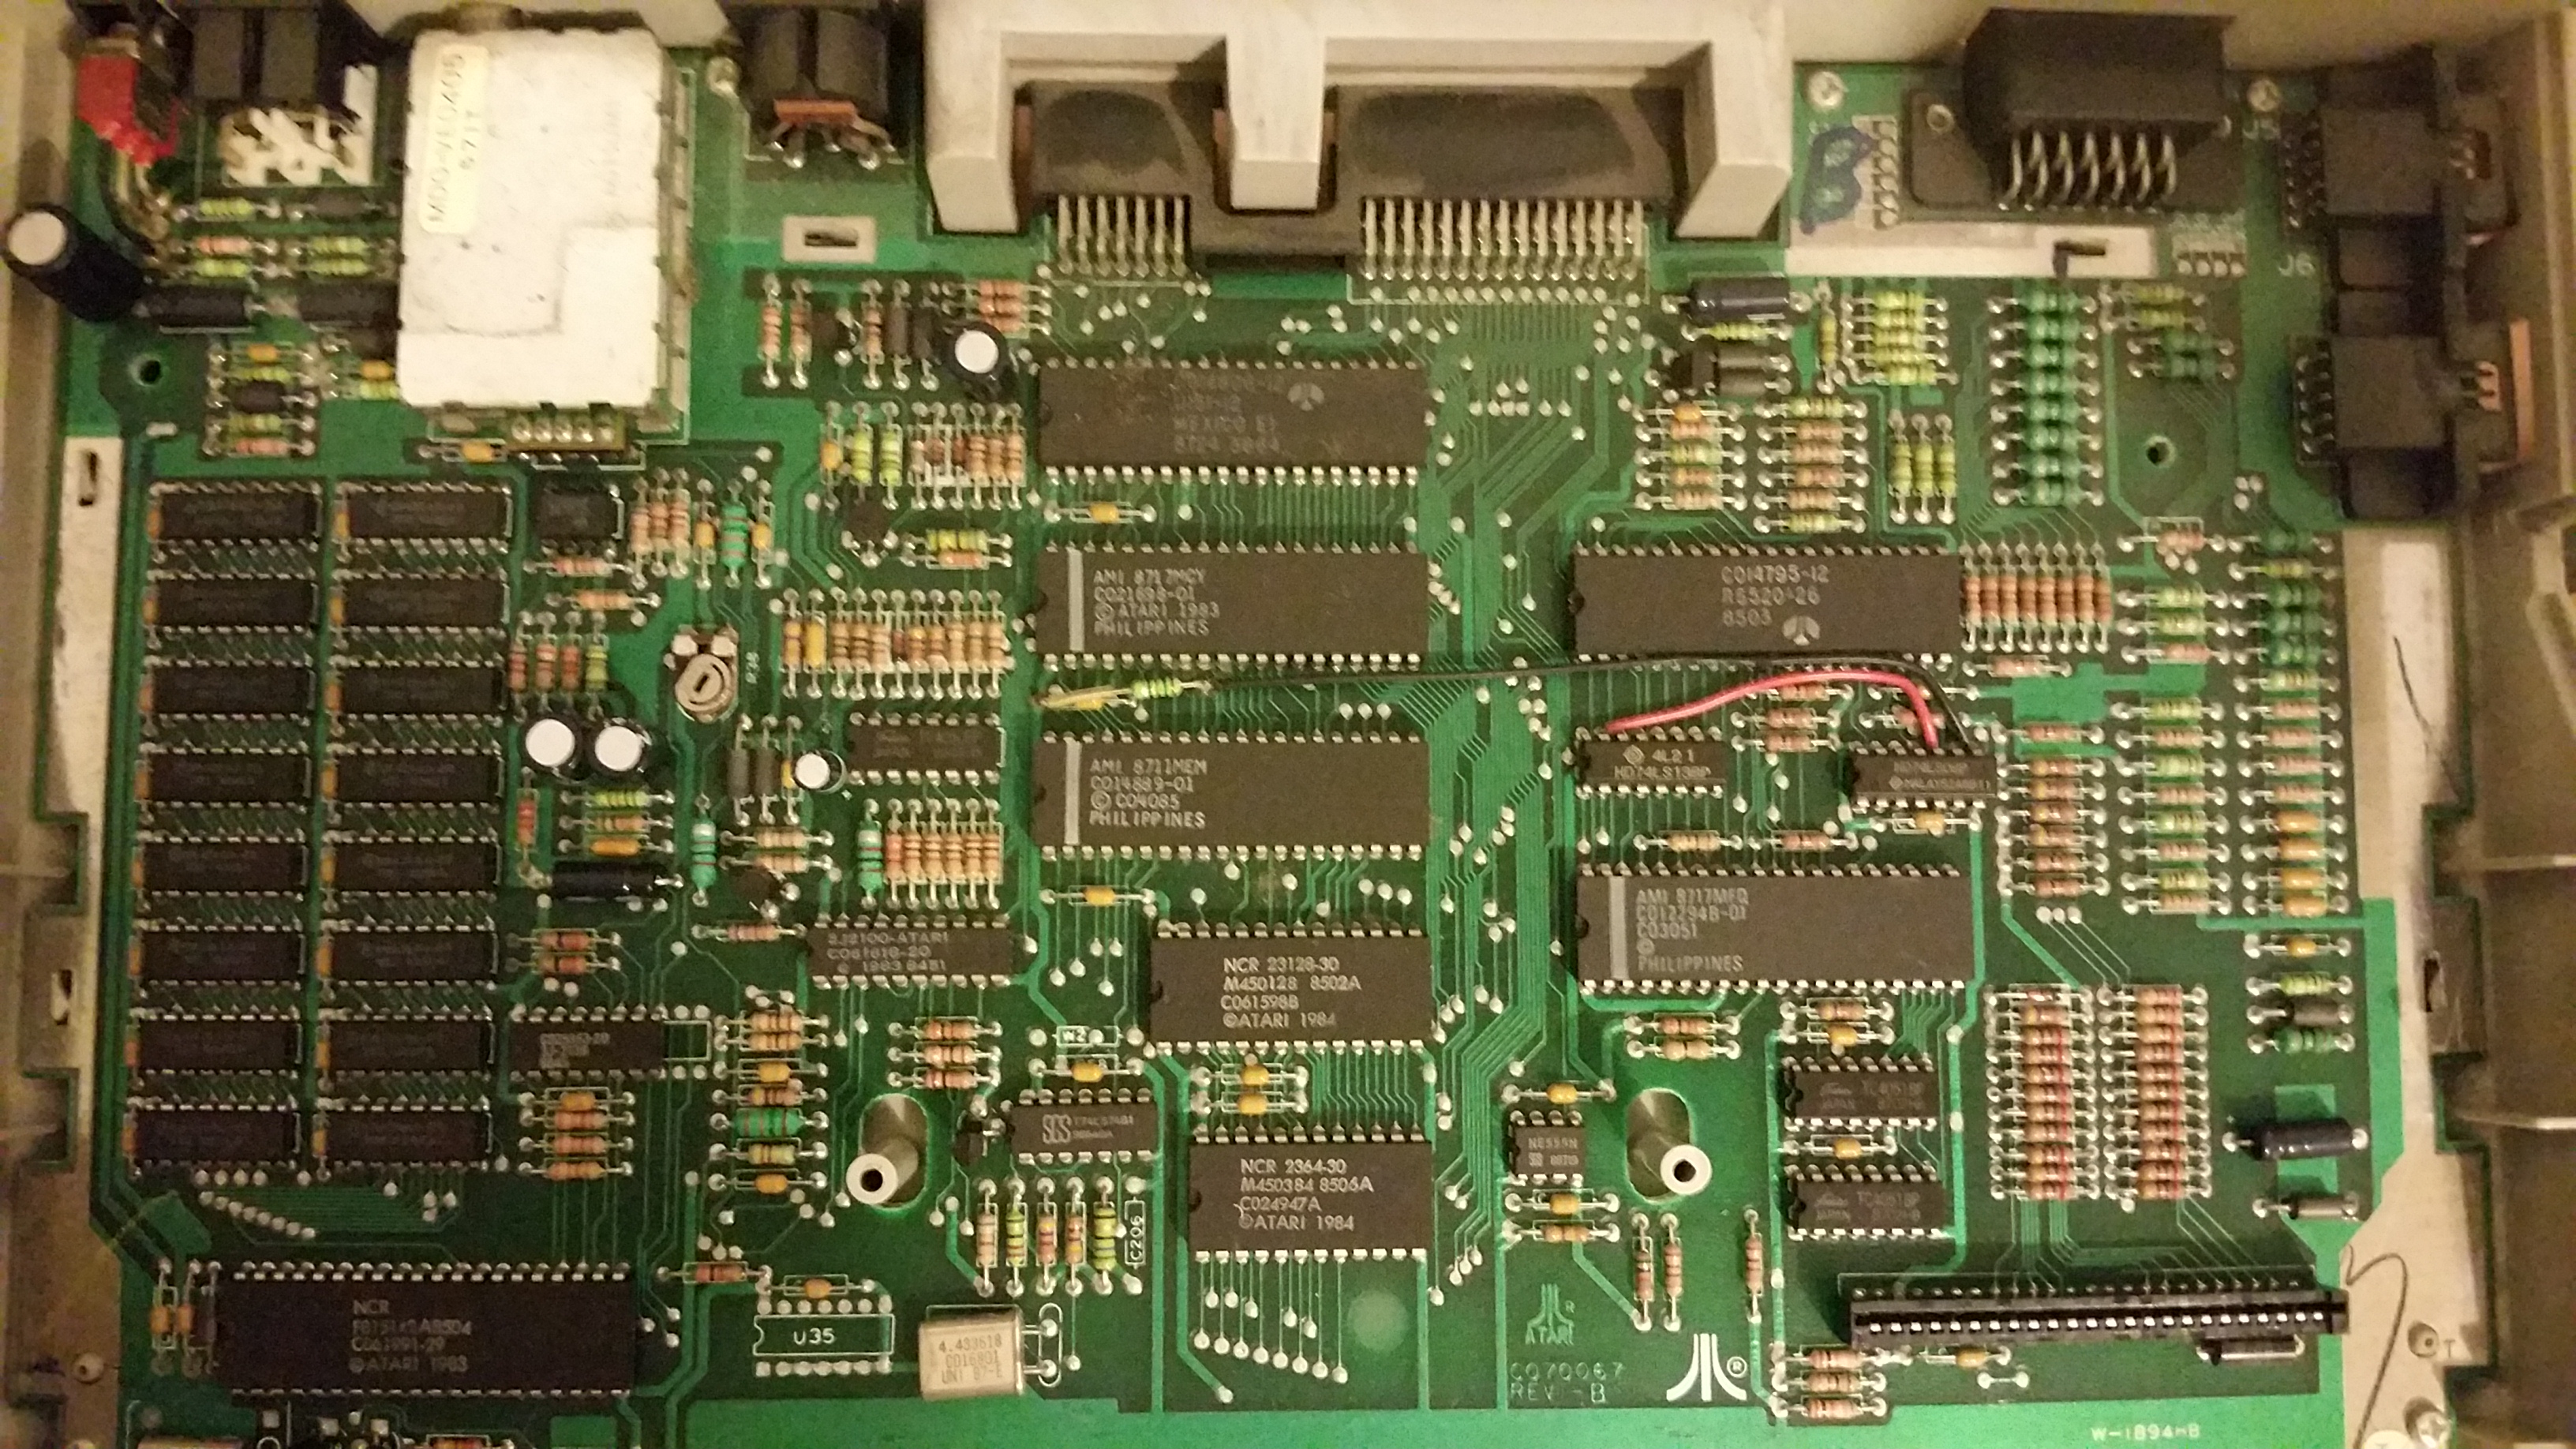
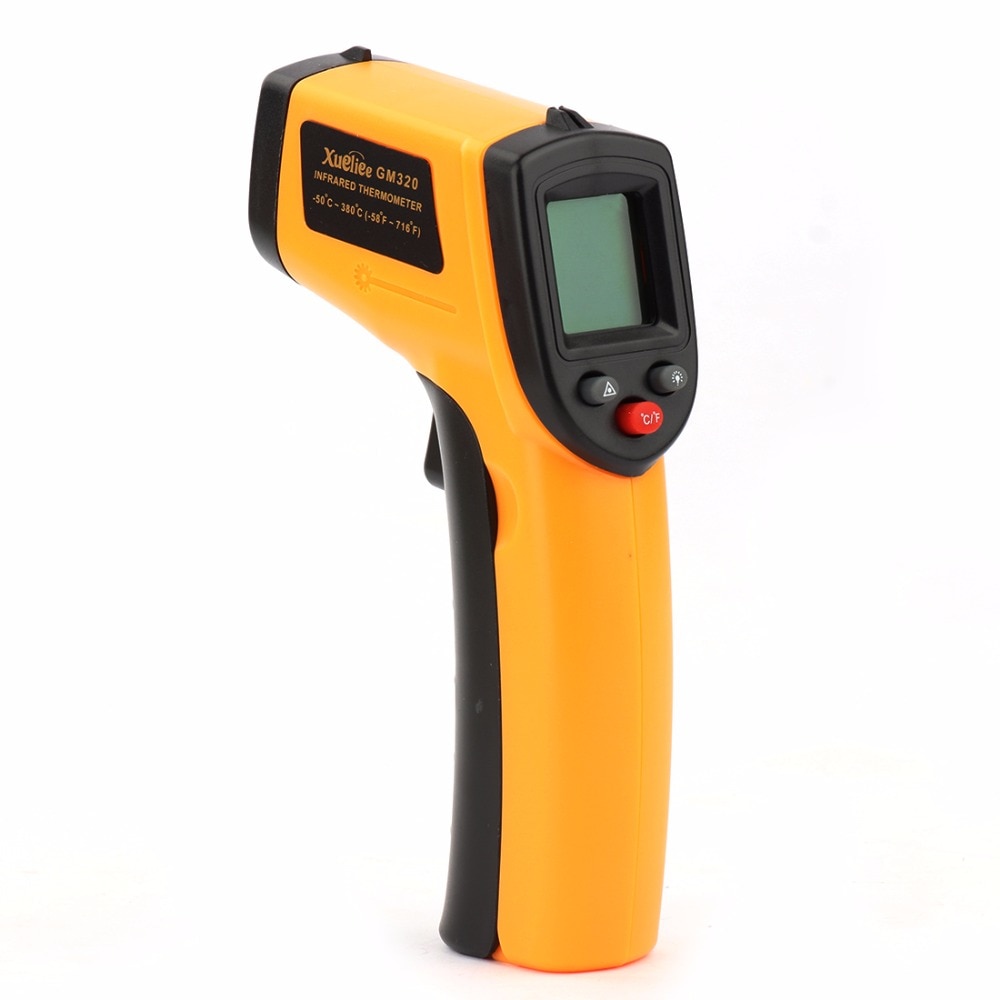
I started thinking how I will identify broken chip (or chips). I said to myself, if something is broken it should heat up a lot more than working chips so I decided to leave it on for a minute or two and check temperature of all ICs. I have Infrared Thermometer that I use in the kitchen, but this use case should work just as well :) It looks like this
Checked temperature of all chips, some were warmer, some colder but one of RAM chips was particularly hot. I could not even touch it with my finger so this must be it. Or something else. So what should be my next step? I decided that I need to remove that module, install socket and get replacement RAM
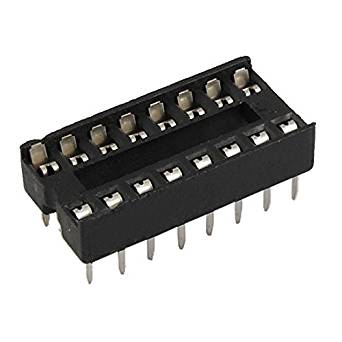
I ordered DIP 16 Pin Socket
With Ram it was more thinking. First I learned what is actually installed. It's 16 modules. They are marked as 4164. These modules are 64k x 1bit. Each module stores 65536 bits. Pinout looks like this

What was interesting, that there was 15 4164-20 modules and one (which failed!) 4164-15. Looks like 15 and 20 means access time. 15 is 150ns and 20 is 200ns. Atari should be fine with modules down to 250ns, so it makes no difference if I order -20 or -15. As I had 15 4164-20 I decided to order something which will match rest of them. TMS4164-20
Fixing
Desoldering
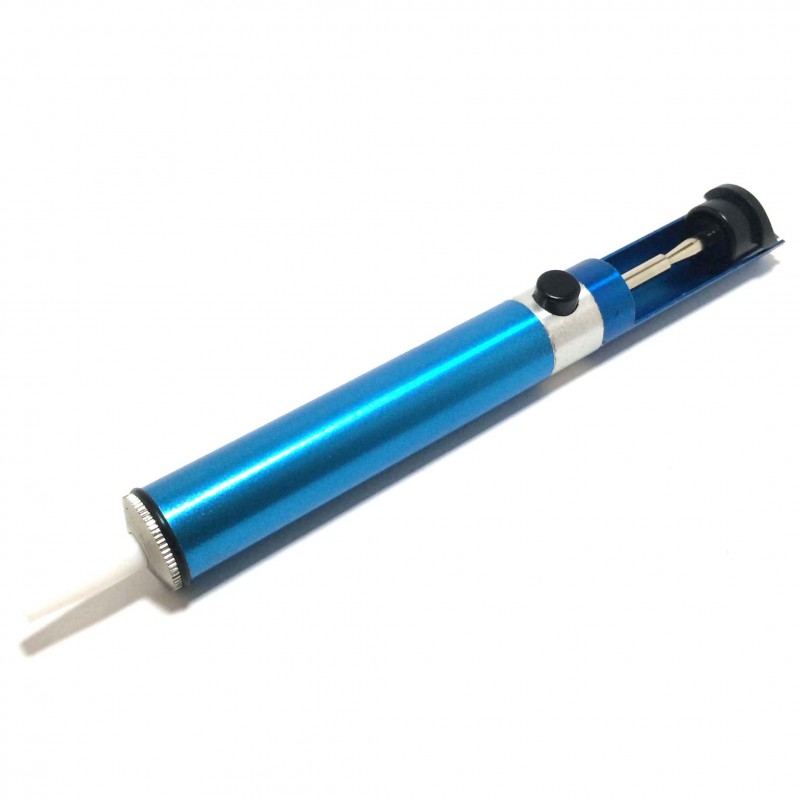
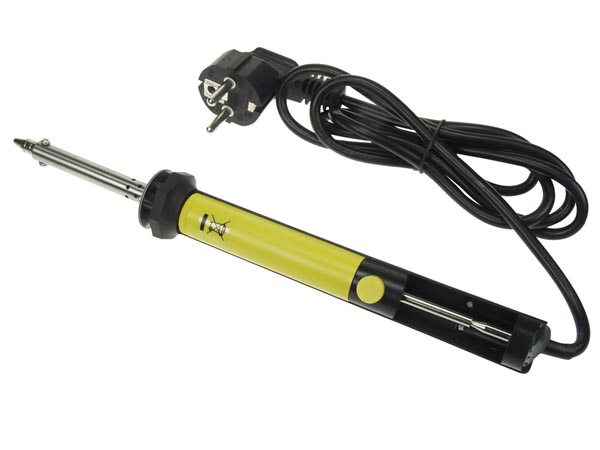
While waiting for my order to arrive, I decided to desolder failed ram in the meantime. I have never done anything like that so my equipment was rather limited. All what I had was Soldering Iron and Desoldering Pump
I tried to disable RAM model but with these tools it was long and painful. In the meantime, I watched great Video about repairing 130xe (similar problem to mine!). It's really worth to watch if you planning to desolder anything on Atari Motherboard :) I have also watched other videos regarding desoldering. Many authors were recommending Desoldering Gun, but I have have decided that investing $100+ for now is too much. I bought something cheaper (maybe not that robust), desoldering pump with integrated heater. So basically pump + soldering iron that i have used before, but integrated together.
It was 10 times easier to desolder now :)
Soldering
Once chip has been removed, I've soldered in socket and then installed new ram module. Connected power supply and held my breath for moment of truth...
IT WORKED :D I have fixed my Atari! I run Self Test for couple of times, just to be sure, but no errors appeared.
Bibliography (Worth to read/watch)
-
AtariChips - List of all specialized IC for Atari 8-bit
-
130xe Memory Repair - FlashJazzCat Fixes broken 130xe (YouTube Video)
-
AtariAge Power Supply - Discussion about Atari Power Supplies
-
Fixing 130xe - Nice page that explains how author fixed 130xe RAM